So you want to be an author. It took me 51 years to eventually write my first official Amazon book called Local SEO – A Roadmap To Successful Ranking.
After going through the process, I am truly amazed how come I never did it before. Being an author gives you that prestige that can be just as powerful as a college degree and in many cases even better. The thing about writing a book is everyone has ideas and stories that can be made into one. Sure some stories are going to be instant successes, while many others may never ever get the traction their authors had hoped for.
In terms of SEO, writing a book can give you an edge on your competition. In general terms, most people believe authors, whether rightly or wrongly, are experts on the subjects they write about. For SEO, you can use this to you advantage by promoting your book or books and generating reviews and buzz.
Today I would like to walk you through the process of how to get your first book published on Amazon.
Tools and websites you will need.
- A computer
- Microsoft Word or similar software
- An Amazon account
- A Createspace account
- A Kindle Direct Publishing (KDP) account
- Fiverr
Publishing on Amazon is FREE. Yes that is right, it doesn’t cost anything to have a published book on Amazon. Currently their are 3 methods of publishing and include Kindle, Paperback and Audio. I am only going to be talking about Kindle and Paperback.
Book Length
Before I get into all the nitty gritty of how to get a book published. In most cases, if you can write a book that is roughly 8 – 10 thousand words, you will have enough content to publish your very own book. While it’s certainly possible to write much shorter books with pictures and such, as general rule of thumb, you will want to have at least 8 – 10 thousand words for most subjects.
Microsoft Word
My preferred method for writing a book is to simply use Microsoft Word. Initially you don’t need to worry about formatting, just start typing. For those that are looking to save time, you will want to create 2 different templates. One will be for Amazon’s Kindle format and the other will be for Createspace paperback format. The two are slightly different so it’s good to have both templates. With Createspace you have a lot of different options as far as book size, so depending on the size selected, you will have to adjust the template.
The way I setup my books
- Title Page
- About The Author
- Acknowledgements
- Intro
- What This Book Is About
- Copyright and Disclaimer
- Table of Contents
- Book Chapters
Table of Contents
The only real tricky part about the book setup has to do with the Table of Contents. When writing for a Kindle book, you have to realize that kindle’s book display can be resized by the reader and there are no page numbers. Rather than a typical Table of Contents with page numbers, you have to create a Table of Contents with anchor tags for each chapter heading and then link the Table of Contents to those anchors.
The following is Amazon’s Kindle recommendation
We recommend building your book in Word for ease of formatting. You can write your book in Word or convert an existing source file to Word format (DOC / DOCX). For the best eBook presentation, refer to the following tips:
- File Format: Save your content in DOC or DOCX format. Save your work periodically to avoid losing your changes as you go.
- Tables: If your book requires tables, select “Insert Table” in Word.
- Layout: You can use Word-default paragraph indentations, bold characters, italics and headings in your Kindle book. Avoid special fonts, headers, and footers, which do not translate into Kindle format.
- Page Breaks: Insert a page break at the end of every chapter to keep the text from running together. In Word, click “Insert” at the top menu bar and select “Page Break.”
- Line Breaks: Don’t hit enter at the end of a line. Word automatically wraps to the next line as you type. If you need to insert a line break in the middle of a paragraph or sentence, press Shift+Enter together so the spacing between sentences will stay the same.
- Image Placement: Insert JPEG formatted images with center alignment. Don’t copy and paste from another source.
- In Word, select “Insert” > “Picture” > then locate and select the file. If your book has a lot of images, it can be viewed in color by readers using our free Kindle apps for PC, MAC, iPad, iPhone, and Android. Otherwise, images on Kindle are displayed in 16 shades of gray for optimal contrast and clarity.
- Don’t include your cover image in your manuscript file. When you publish or re-publish your book, we’ll automatically add your cover image to the inside.
- Spellcheck and Grammar: Use Word’s built-in spellcheck and grammar tools, but proofread your file manually as well. The automated tools may not catch every error.
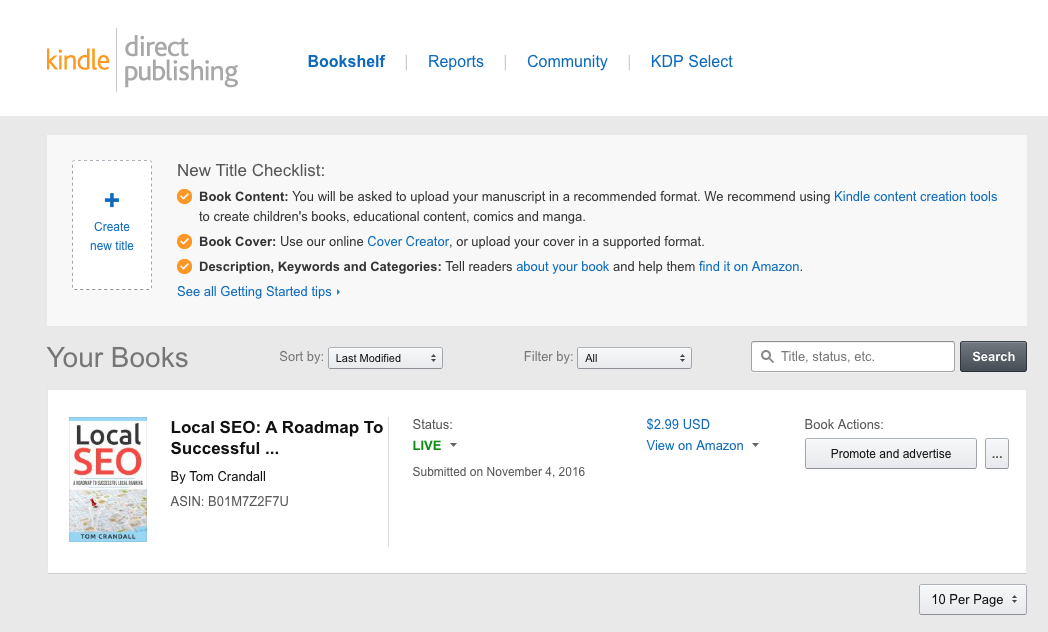
Kindle Direct Publishing (KDP)
Kindle Direct Publishing or KDP is Amazon’s website for creating a Kindle book to publish on Amazon.
In order to publish on KDP you will need to create a KDP account. Once created you will then be able to upload your new book and publish it.
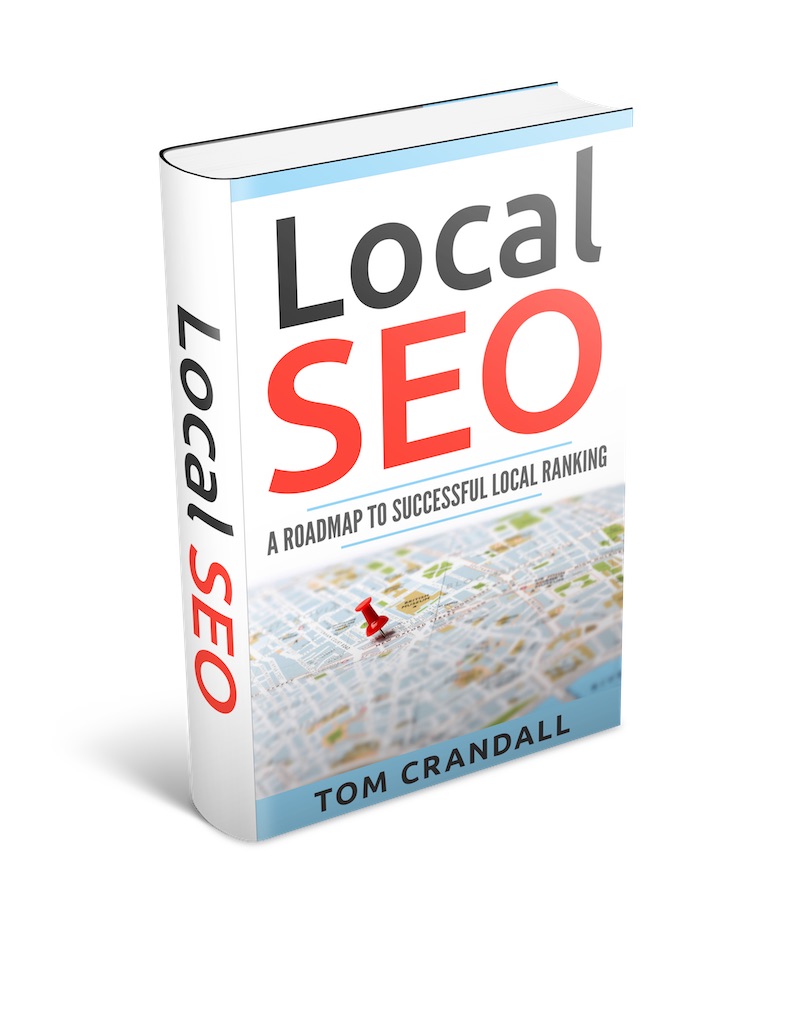
Kindle Book Cover
For Kindle book publishing, you will also need a book cover as show above. Kindle provides an interface to make a book cover or you can pay someone roughly $5 to create one for you on websites like Fiverr. That is exactly what I did. For $10, I got a Kindle ready book cover + a 3-D cover. When going to Fiverr, just search for “Kindle Book Cover” gigs. There should be plenty of them.
After uploading your book and cover, you have the opportunity to preview before publishing, which will allow you to make edits or adjustments as needed.
Kindle Royalties
KDP also allows you to set your book price and royalty fee pricing structure. If the book is selling for between $2.99 – 9.99, you can earn up to 70% royalties.
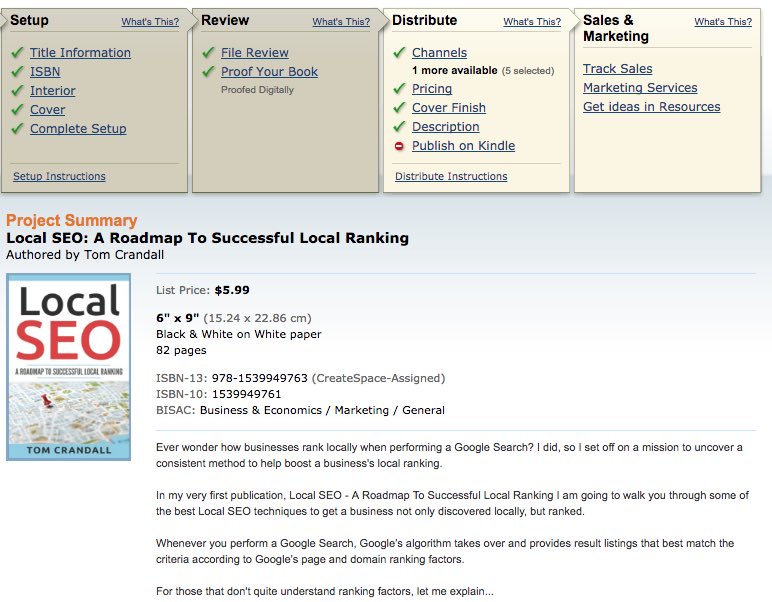
Createspace
Createspace is Amazon’s website for creating a paperback book to publish on Amazon.
Just like KDP, you will need to create a Createspace account to be able to upload your book and publish it.
Once your account is setup you can start uploading your book to Createspace. There are multiple tabs of information that will need to be filled out for each book submission, but for the most part it is pretty straight forward.
During the Review process, you can have proofs of the books sent to you to get an idea of what the finished product will look like. It also gives you one last chance to make sure everything looks good and to correct any errors.
Trial And Error
I found that during the upload process, when uploading my book, it was better to use a PDF format than to try to upload a Microsoft word format. Every time I tried uploading the word document the formatting was getting screwed up. Once I switched over to PDF, I had zero problems with formatting.
I opted for a Createspace paperback format of 6×9. It’s a great book size for self published books. Depending on your preference in book size, you might have to play around with the template.
Createspace Book Cover
When creating the cover you really have 2 options.
- Do it yourself
- Pay to have it done
For my book I actually found a Createspace 6×9 template and did it myself using my already created Kindle book cover. For those that aren’t graphically inclined, you can use Fiverr to have someone make it for you.
Just search for “Createspace cover” or “Createspace book cover”
Createspace Royalties
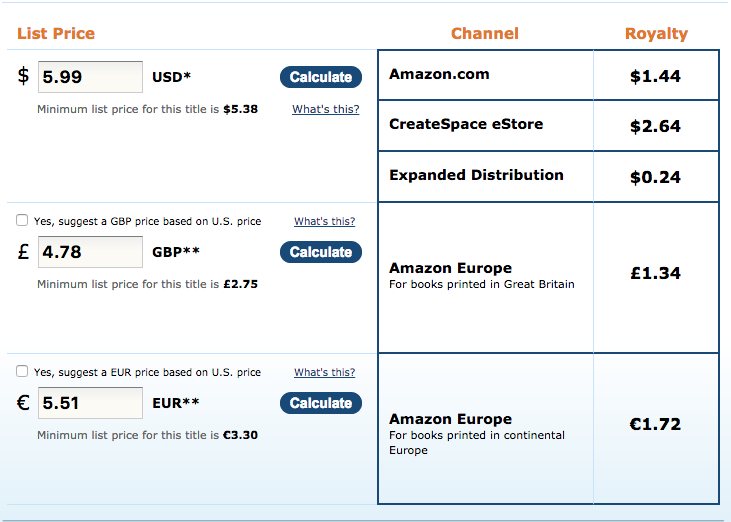
In the example above, you can see how much the royalties are for a book that costs $5.99 on Createspace.
Both Kindle and Createspace are excellent ways to go.
After publication
Once your books are published to Amazon, promote…promote…promote. The more downloads and purchases people make, the higher your ranking score will be. Also if you know people who are purchasing your book, make sure to ask them for a review. Reviews help drive sales.
In most cases it takes about 4-6 published books before things really get interesting with sales, so keep writing and publishing.


